Install and Run Molywood in Windows Subsystem for Linux
Important!
The molywood tool has been developed in Python version 3 and therefore it must be run over a Python 3 installation or environment.
As some of the conda dependencies of our packages are not fully compatible with Windows, here we will explain how to install and run Molywood in Windows 10 using the Windows Subsystem for Linux feature.
Install Ubuntu
First off, we will install Ubuntu in Windows 10. If you have it already installed you can skip this step.
Enable Windows Subsystem for Linux
Before installing Ubuntu, we should enable Windows Subsystem for Linux:
- Open Start Menu
- Click on Settings
- Click on Apps
- Scroll down and click on Related settings > Programs and Features
- Go to the left menu and click on Turn Windows features on or off
- Scroll down and enable Windows Subsystem for Linux clicking on the left checkbox

Install Ubuntu terminal
Several Linux distributions can be installed, although we recommend to install Ubuntu 16.04 or 18.04. In the next link the installation instructions can be found:
https://docs.microsoft.com/en-us/windows/wsl/install-manual
Basic steps:
- Open Power Shell
- Download distribution:
curl.exe -L -o ubuntu-1604.appx https://aka.ms/wsl-ubuntu-1604
- Install distribution:
Add-AppxPackage .\ubuntu-1604.appx
Once the installation is finished, Ubuntu terminal is available in the Start Menu:

Install Anaconda
- Go to the official Anaconda website:
https://www.anaconda.com/distribution/#linux - Be sure that the Linux tab is selected, because as we are accessing the site from Windows, probably the Windows tab will be selected by default. Then copy the Download Python 3.x version link.

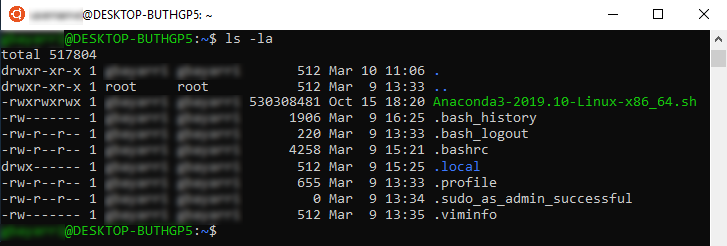
- Open Ubuntu terminal and download the link copied in the step above:
wget https://repo.anaconda.com/archive/Anaconda3-2019.10-Linux-x86_64.sh .
- Now we have the file downloaded but we need to give it execution permissions:
chmod +x Anaconda3-2019.10-Linux-x86_64.sh
- Once we have execution permissions, let's execute the file and follow the installation instructions:
sh ./Anaconda3-2019.10-Linux-x86_64.sh
- When the execution is finished, try to execute conda in the terminal window. If it doesn't work, the path must be exported:
export PATH=/home/USER/anaconda3/bin:$PATH
Download environment.yml file
For creating a new conda environment, we need to download a YAML file with all the dependencies that must be installed into our environment. The structure of this file is as follows:
name: molywood
channels:
  - conda-forge
dependencies:
  - python
  - vmd
  - ffmpeg
  - imagemagick
  - conda
Download the YAML file environment.yml to your computer clicking the button below:
Create conda environment
Open your Ubuntu terminal and go to the folder where your environment.yml file has been downloaded and follow the next steps:
- Create the molywood conda environment:
conda env create -f environment.yml
- Once the molywood conda environment is created, activate it:
conda activate molywood
- Run the Python Package Installer to install manually the last dependency:
pip install molywood
Run molywood
Now you can run molywood just typing molywood in your Ubuntu terminal.
(molywood) $ molywood

 Warning: no input data was provided.

 To run Molywood, provide the name of the input file, e.g. 'molywood script.txt'.

 To run a sample visualization, type 'y'.

 To generate a sample input, type 'i'.

 Pressing 'Enter' (or entering any other command) will terminate the script.
 >>> y
 Do you want to render the movie ('r'), or display only ('d')?
 >>> d
 Sample movie with pdb 1w0t, render mode off
Now rendering scene: scene
